Part 4 - Working with MIDI
Instructions: Select a step from the menu on the left.
| What is MIDI? |
MIDI, which stands for Musical Instrument Digital Interface, plays a pivotal role in the realm of music production, particularly when working with software like Ableton Live. MIDI is a protocol that enables electronic musical instruments, computers, and other devices to communicate musically relevant information with one another. In the context of Ableton Live, MIDI is extensively utilized for creating, controlling, and manipulating musical elements (like drums, chords, and melodies). What's really important to us now is that MIDI allows you to write your own parts, rather than just work with manipulating audio like loops. Users can enter MIDI notes with a keyboard and mouse, or employ MIDI controllers, such as keyboards or drum pads, to trigger virtual instruments and manipulate parameters in real-time. Ableton Live's compatibility with MIDI allows for dynamic and expressive performances, facilitating the seamless integration of hardware and software components. Whether it's recording MIDI data, programming intricate sequences, or controlling various aspects of a performance, understanding MIDI is fundamental for unlocking the full creative potential within Ableton Live's versatile music production environment. Image Credit: Pixabay |
||||||
| Sequencing MIDI: video overview |
You might like to watch this video overview from Ableton on how to sequence MIDI. Note that the session view (instead of the arrangement view) is shown in this video, but all of the MIDI clip editing tools are the same.
|
||||||
| Practical task 1: Manual entry MIDI drums - getting started |
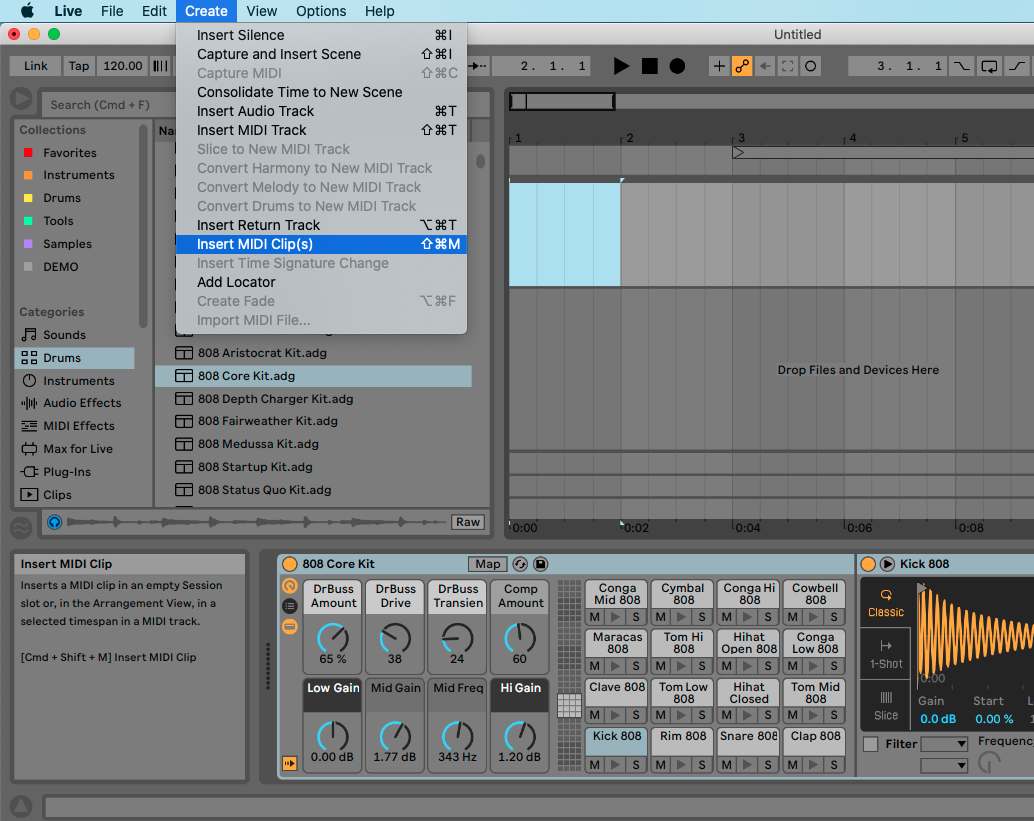
Try this in Ableton Live. We're going to start by clicking in (with the mouse) notes for a drum pattern. To make get a virtual instrument and a blank MIDI clip to start with:
|
||||||
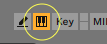
| Practical task 1: Manual entry MIDI drums - adding in notes |
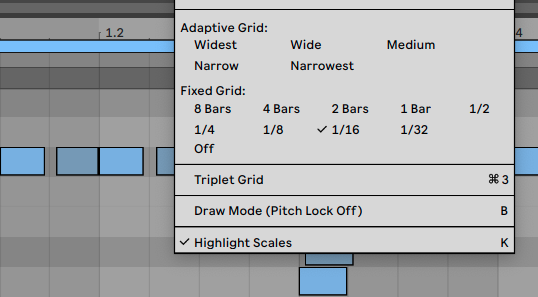
To add notes into that blank clip to write your pattern:
|
||||||
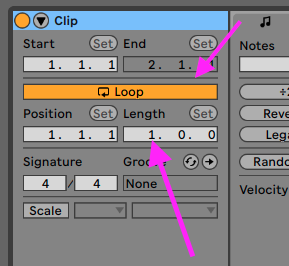
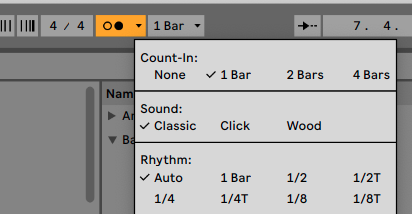
| Practical task 1: Manual entry MIDI drums - adjusting clip length/repeats |
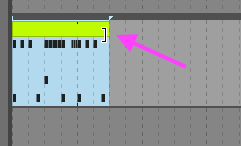
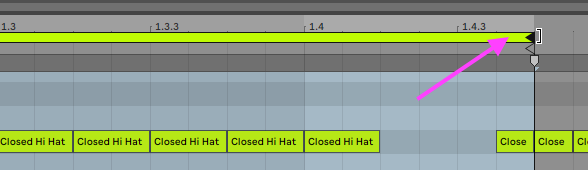
If you want to adjust the length or number of repeats of your clip:
|
||||||
| Completing TASK 1 |
Take a pause from the instructions here to complete practical task 1 (creating drums by manual entry/mouse clicking). Once you've got some drums you like, experiment with adding other complimentary parts. You can add in different software instruments on new MIDI tracks, or combine this with some loops from the installed packs. When you are ready, move on to the next steps. |
||||||
| Recording MIDI input |
If you're attempting this from home without access to a MIDI keyboard yet, this is a good alternative for getting started. Later, make sure you try this task in the labs on campus (remember you can access these once enrolled any time the building is open, so long as there is a free seat) Image Credit: Unsplash |
||||||
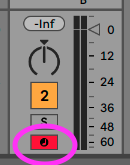
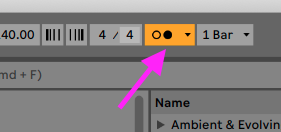
| Practical task 2: Recording MIDI melodies - getting started |
Now we're going to add a melodic part to compliment your drums by recording your playing on a MIDI keyboard.
Don't worry if you aren't a great keyboard player, just make sure you understand the process for now. See the next step for some tools that might help... |
||||||
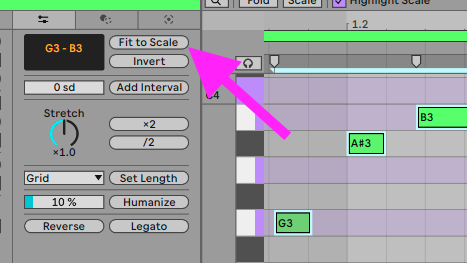
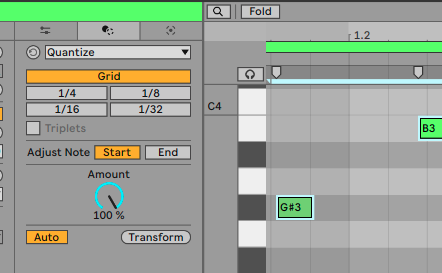
| Practical task 2: Recording MIDI melodies - refining your recordings |
Here are some tools that might help you refine what you record:
|
||||||
| Completing TASK 2 |
Take a pause from the instructions here to complete TASK 2 (creating melodies by recording with a MIDI keyboard). Once you've got your melody in, try adding other parts that might continue to develop this musical idea. Maybe that's some new layers, or figuring out a transition to a new section of the song form. Try to build out an idea for a rough music demo. |
||||||
| Test your knowledge quiz | Test your knowledge on these topics using the quiz below |