Part 6 - Effects
Instructions: Select a step from the menu on the left.
| Adding Audio Effects |
|
||
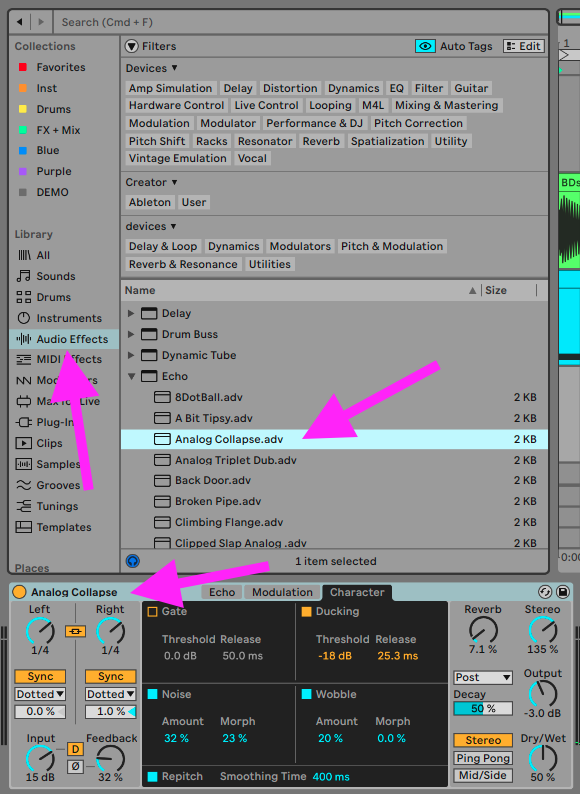
| Device View | All audio effects appear in the "device view" area at the bottom of the screen. This part of the screen is either hidden, or showing the clip view, or device view. If you aren't seeing the device view already, you can press the "device view toggle" at the bottom right of the screen. You can also press the shortcut Shift + Tab to toggle between clip and device view.
|
||
| Dry/Wet | Every audio effect has a different interface to suit its particular needs, but keep an eye out for a dry/wet blend control (found on many, but not all effects). Dry = un-effected signal, Wet = effected signal. It's a good control for adjusting how intense the effect will sound. You may also find some presets open with too high or low dry/wet blends, and you can get a more suitable sound by adjusting it.
|
||
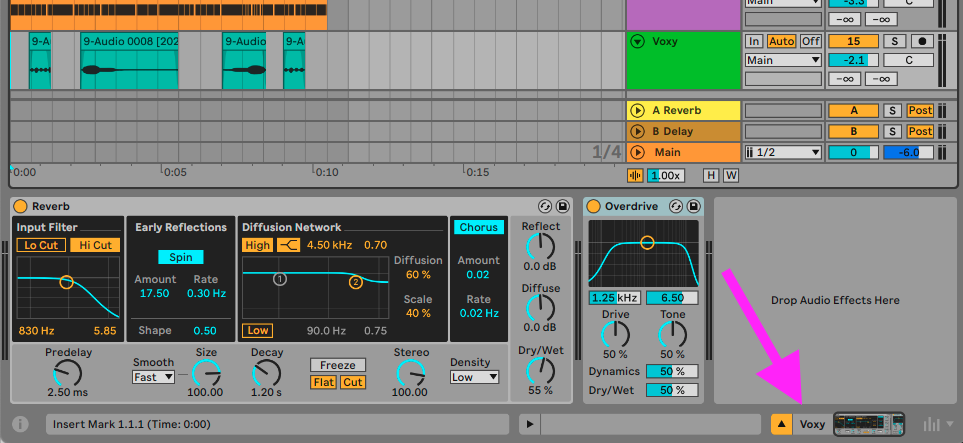
| Signal flow and respositioning | Audio moves through the effects in a sequential order, going from left to right. Sometimes the order of the effects can make a difference. For example in the below image, the sound will go into the reverb first and then the overdrive:
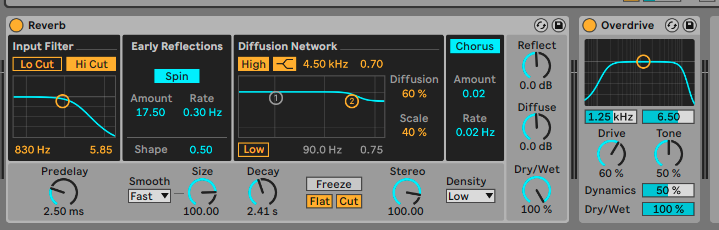
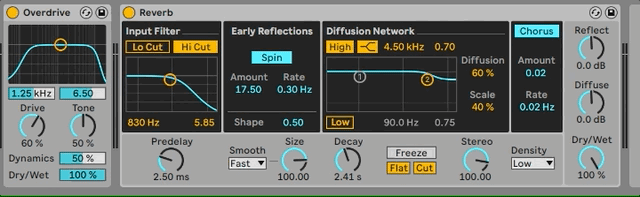
Compared to the below image, where the sound will go into the overdrive first and then the reverb. This can sound quite different:
To reposition effects, or even move to them to other tracks, you can click and drag them from their device title bar
You can also select devices to then use common editing commands like cut/copy/paste and delete. These options can also be accessed from the right click menu. |
||
| Different types of audio effects |
There are a few different types of audio effects. Here's some basic information on some important effect types: Gain and Filtering: Core Concept: These effects involve manipulating the amplitude (gain) of audio signals, including the amplitude of specific frequency content (filtering). E.g. Equalization (EQ) precisely adjusts amplitude across specific frequency bands, while filters typically more drastically attenuate or boost larger frequency ranges, optimizing tonal balance or producing more noticeable effects. Sounds Produced: EQ enhances clarity, filters create more significant timbre adjustments, and careful gain adjustment ensures a well-balanced mix. Dynamics: Core Concept: Dynamics processing involves controlling the changing volume and intensity of audio signals. E.g. Compression reduces dynamic range, gates eliminate unwanted low volume noise, and limiters prevents signal distortion by imposing an amplitude ceiling. Sounds Produced: Compression evens out volume fluctuations, gate eliminates background noise during silent passages, and limiter ensures peak control, contributing to a polished and controlled audio output. Drive and Distortion: Core Concept: Intentionally introducing harmonic distortion alters the timbral characteristics of sound. Techniques like overdrive, distortion, and saturation push signals beyond clean thresholds, creating harmonic richness and overtones. You can achieve this by running a signal "too loud" through various circuits and gear (such as tubes, diodes, or transistors), and virtual effects typically emulate that signal path. Sounds Produced: Ranging from warm overdrive to aggressive distortion, this family adds character and coloration, shaping the expressive tone of instruments. Modulation: Core Concept: Modulation effects bring dynamism by cyclically varying parameters. This typically starts with a duplicate of the signal mixed in at a very very short delayed offset, and that offset is then cyclically adjusted. Chorus introduces ensemble-like effects, phaser produces swirling textures, and flanger imparts a distinctive whoosh. Sounds Produced: Chorus can create movement like multiple performers doing the same part together in unison (AKA a chorus) or be pushed to more noticeable extremes with shifting unstable pitch, phaser adds more stylistic movement and depth, and flanger provides a unique, jet-like swoosh, enriching the sonic palette. Time Based: Core Concept: Focus on manipulating temporal aspects with delay and reverb. Delay introduces time-shifted repetitions, enhancing rhythm, while reverb simulates reflections in different environments, shaping spatial and depth perception. Sounds Produced: Echoes and rhythmic patterns with delay, immersive spatial ambiance with reverb emulating the sound existing in a physical space (or an extreme exaggeration of one), adding depth and spatial cohesiveness to the music. |
||
| Practical task: Adding effects | Try the following in your Ableton Live session:
|